[dropcap]I[/dropcap] know I know, I’ve been promising you my full closet reveal but my white washed bamboo flooring is so special it deserves a post of it’s own. What makes it so damn special?! Well, for one, it was remarkably cheap at only .99¢ sq ft. That’s pretty much unreal and majorly under budget! But what truly takes my flooring to the next level is the installation.
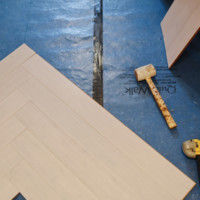
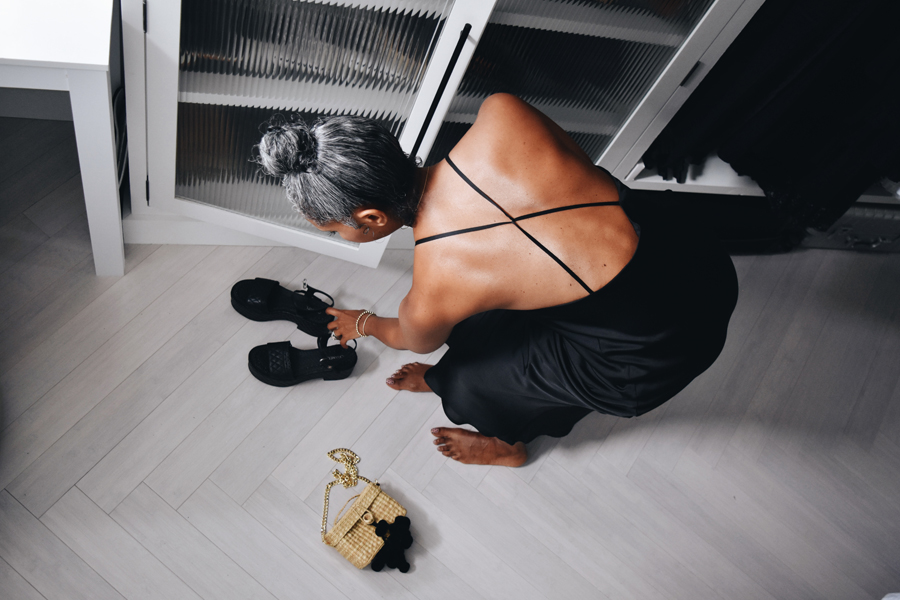 Rather than going with a traditional installation, I had it laid in a herringbone pattern. This simple design choice elevated my ordinary inexpensive material to a fabulously stylish new level. It came out so beautiful we decided to share this mini-how-to post to help you elevate your flooring on a budget too.
Before we jump into the flooring, let’s do a brief recap of my closet remodel …
- Design drawings & measurements completed ✓
- Mood boards and overall aesthetic finalized ✓
- Hot water heater removed & replaced with tankless water heater on the exterior of the house ✓
- All design & building components onsight prior to demo ✓
- Clothes packed away in way too temporary wardrobe boxes (will include a link to the boxes I used…worth every penny) ✓
- All remaining closet belongings stashed away all over the house (against my orderly house rules) ✓
- Most importantly, demo took place while I was gone for 3 consecutive days on a business trip…GENIUS! ✓
From start to finish, the entire closet project took 8 days. I know I’m skipping over a bunch of stuff like how the cabinets were built in and how the clothing bays were constructed but trust me, it’s better shared in live action so I’m saving that bit for the final closet reveal vlog. Until then let’s talk herringbone flooring.
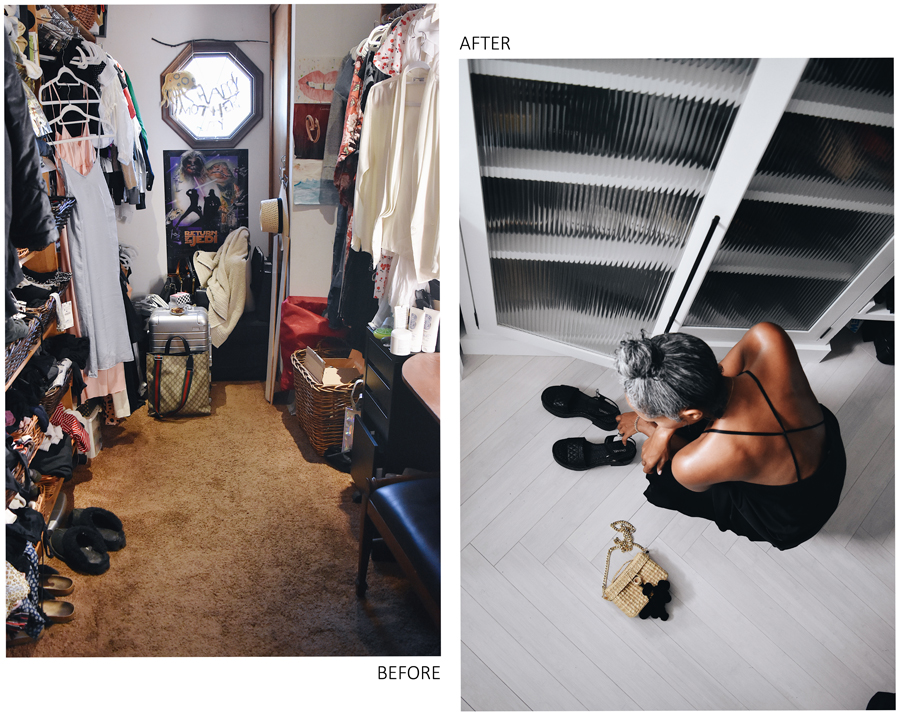 Herringbone Bamboo Flooring on a Budget
My original flooring budget was $5 – $6 sq. ft. for my 100 sq ft space. As I mentioned, I paid just a fraction of that at only .99¢ sq ft. That means I was able to more than cover both my materials and installation for less than the amount I budgeted for materials alone.
How did I find the right material?
Well to be fair I did not exactly choose my material, rather it found me. In fact, I originally thought to use tile. Brrrrr!! Mike kept insisting I look at warmer materials like wood or vinyl. I knew I wanted white floors and it was getting me down because I just couldn’t find what I had in mind for my budget.
After hearing me whine for weeks, Mike took me to a “not so Tennille” wood flooring supplier called Lumber Liquidators. You know, the type of place that’s near train tracks across from a Home Depot. Not hating but the designer in me was visiting lovely showrooms filled with materials well above my budget. Sigh. In my mind I was like “come on T, this place might surprise you!!!” Why at that moment when you’re ready to give up does the solution present itself? Divine intervention. Well, Mike deserves credit too. Off in the dark clearance hallway I found the perfect ME flooring!! Hanging on the wall was a white-washed bamboo material board with a .99¢ CLEARANCE sticker taped on it. I immediately asked, “what’s wrong with it??” — Nothing at all. The flooring was discontinued and they just needed to get rid of the current stock, approximately 1000 sq ft. Music to my ears, I only needed 120 sq ft. (well, a bit more for cuts and pattern).
Why Bamboo Flooring is an Eco conscious choice?
- Natural: Bamboo is grass, completely natural.
- Renewable: Only the stalk is harvested leaving the roots intact, saving the soil and surrounding ecosystem. Bamboo also regenerates in a 5 year period in comparison to other wood that takes 30+ years to regenerate when trees are cut down. Not to mention the surrounding forests are decimated & destroyed in the process. Since bamboo is harvested by hand, surrounding ecosystems are further preserved.
Benefits of Bamboo
- Durable: Hard if not harder than other wood flooring, making it durable and scratch resistant. Perfect for a closet, ahem a woman dragging her high heels and luggage across the floors on a regular basis.
- Water resistant: I mean as long as I don’t leave puddles on the floor for more than 20 hours I’m all good. Whewy, because on hair wash day my hair makes a big ass dripping mess on the floor.
- Affordable: Did you guys hear me say .99¢ per sq ft!? That’s dirt cheap!!
Why herringbone?
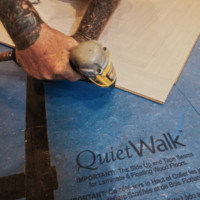
In my designers mind all I could see in the space was either chevron or herringbone floors. Such classic, elegant, and timeless patterns. Wanting and achieving are two very different things. I have a knack for wanting as Mike puts it, “only the best; high end for my wife!” Sorry not sorry. I can be a little bougie sometimes. But damn it I want what I want and if I can find a way to make it work then I will!! So against Mike’s wishes I asked my installer Andy if he could lay my bamboo in a herringbone pattern. Ahhh yeah Mike, Andy could and Andy did. In fact, Andy was hyped to do something new and out of the ordinary.
Tips to install bougie herringbone dream flooring:
- Find an installer you trust who will be patient with your expectation for perfection. It’s a precise job, but truly anyone who professionally lays wood flooring should be able to do it.
- Buy extra material for cuts. Traditionally when you buy flooring you need about 5% extra for cuts. To play it safe I would go with 20% extra for cuts. Also, ask your flooring supplier about their return policy in case you are left with extra boxes of unopened material.
- This pattern can also be achieved with other flooring materials such as tile or vinyl.
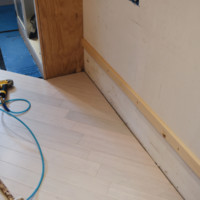
I’m beyond thrilled with how my flooring turned out. This goes to show that with a little creativity you can achieve a high end look for your flooring on a budget. What do you guys think?
leave a comment